This document describes the processing of installing WinAVR 20100110 on a Windows 7 PC and configuring it for use with an AVR Dragon programmer for an ATMega328-PU target..
Installing WinAVR
Downloading
Size: 18 MB
Installation Steps
1) Run the installer you downloaded (WinAVR-20100110-install.exe)
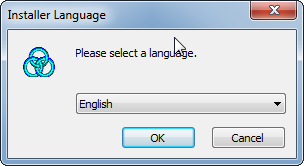
2) Click ‘OK’ when it prompts you to select ‘English’ as your language
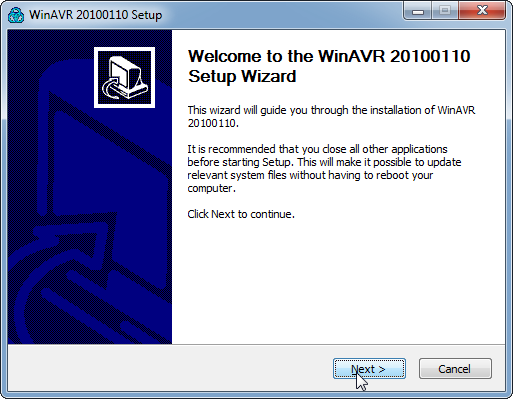
3) Click ‘Next’ on the Welcome window
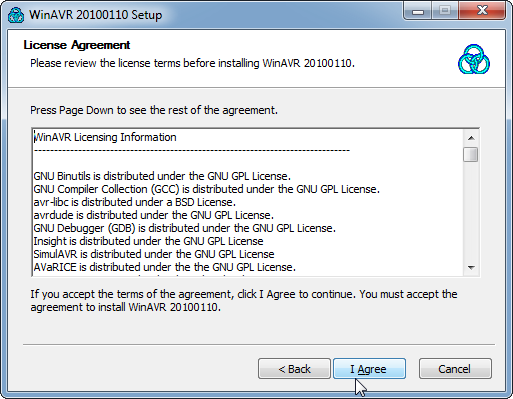
4) Agree to the licenses by clicking ‘I Agree’
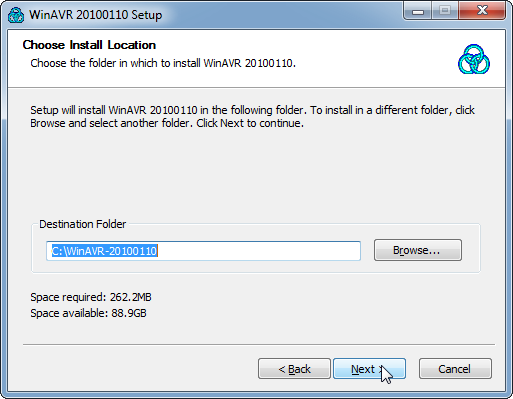
5) Keep the default Destination Folder by clicking ‘Next’
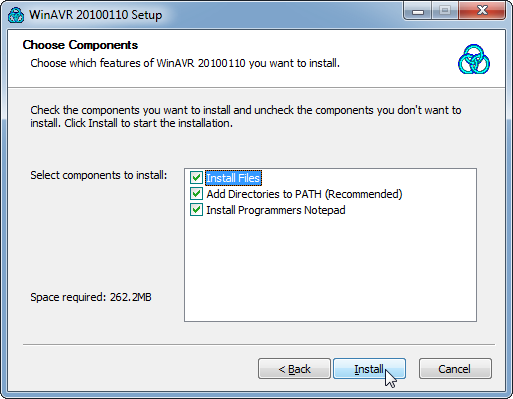
6) Accept the default Installation Components by clicking ‘Install’
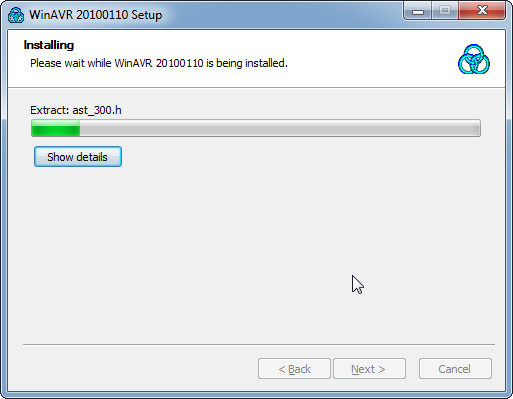
7) Wait as the installation commences
8) When the installation is complete, click on ‘Finish’
Verifying Installation
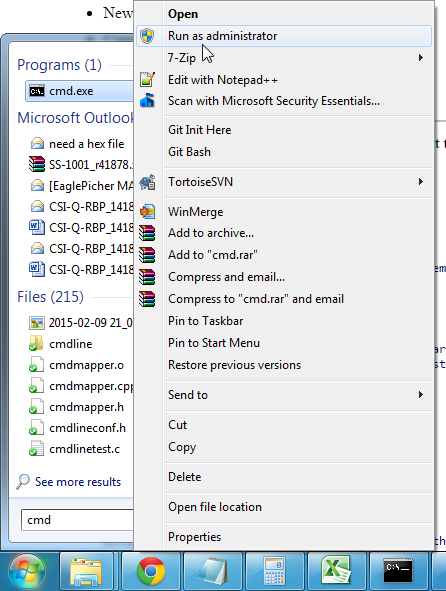
1) Open a Command Prompt as an Administrator by: 1) Clicking on the Start Menu 2) Typing ‘cmd’ in the Run dialog 3) Right-clicking on the resulting entry for ‘Command Prompt’ and, 4) Clicking on ‘Run As Administrator’ 5) Then clicking on ‘Yes’ in the UAC dialog that appears
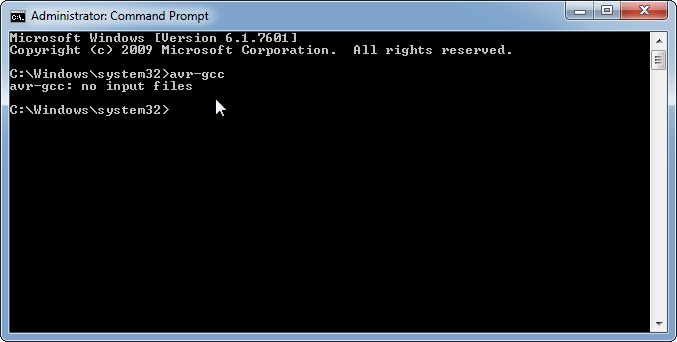
2) In the command prompt type ‘avr-gcc’ and hit Return
3) Verify that the result is:
avr-gcc: no input files
Using avrdude
avrdude is the utility that allows you to program AVR chips. This is the command line that I use to program the ATMega328P with an AVR Dragon programmer:
avrdude -p m328p -c dragon_isp -P usb -v
The options are:
- -p m328p - Sets the processor to ATMega328P
- -c dragon_isp - Specifies that the programmer is the AVR Dragon in ISP mode
- -P usb - Specifies that the AVR Dragon is connected via USB
- -v - Verbose output
Using the AVR Dragon with avrdude
It is not straightforward to use the AVR Dragon with avrdude for two reasons:
- The drivers will need to be installed
- A libusb-win32 INF filter will need to be installed
AVR Dragon Drivers
The AVR Dragon USB drivers can be downloaded from Atmel’s site after providing your contact information. The URL is http://www.atmel.com/System/BaseForm.aspx?target=tcm:26-66206
The driver shouldn’t pose any issues when installing, but you may need to reboot.
libusb-win32 Driver Filter
Even after the driver is installed avrdude will not be able to access the Dragon. This is because avrdude uses libusb to access the Dragon. To allow avrdude to access the Dragon you will have to download libusb-win32 from here:
http://sourceforge.net/projects/libusb-win32/files/latest/download
1) Once downloaded, unzip the file into a temporary directory and find the ‘bin’ directory.
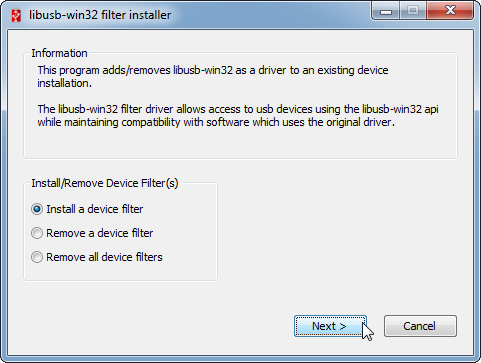
2) Within that directory there are two subdirectories which both contain an ‘install-filter.exe’ file. Run the ‘install-filter-win.exe’ program from the directory appropriate for your architecture:
- 64-bit Windows - ‘amd64’
- 32-bit Windows - ‘x86’
3) Ensure that ‘Install a Device Driver’ is selected and click ‘Next’
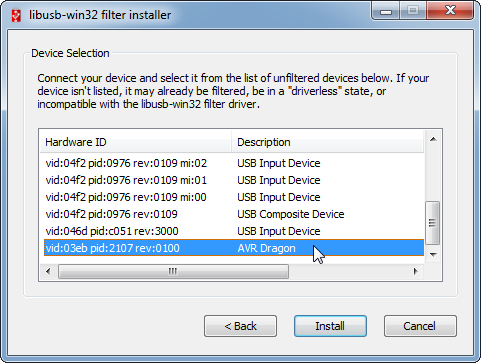
4) Find the ‘AVR Dragon’ entry in the list, select it and click ‘Install’
5) A dialog will quickly pop up and then this dialog or a similar one should appear. Click ‘OK’
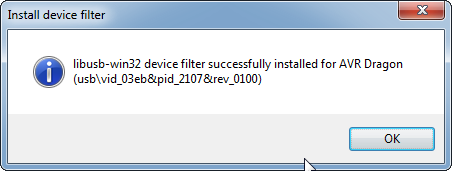
6) You will be returned to the driver list screen - click ‘Cancel’ to exit.
7) Verify the installation:
1) Connect the Dragon via USB

2) Open a Command Prompt

3) Type 'avrdude -p m328p -c dragon_isp -P usb -via
You should see a screen with text similar to this (there may be more text, but at least this text):
avrdude: Version 5.10, compiled on Jan 19 2010 at 10:45:23
     Copyright (c) 2000-2005 Brian Dean, http://www.bdmicro.com/
     Copyright (c) 2007-2009 Joerg Wunsch

     System wide configuration file is "C:\WinAVR-20100110\bin\avrdude.conf"


     Using Port                    : usb
     Using Programmer              : dragon_isp
 avrdude: usbdev_open(): Found AVRDRAGON, serno: 00A200006230
JTAG ICE mkII sign-on message:
Communications protocol version: 1
M_MCU:
  boot-loader FW version:        255
  firmware version:              7.24
  hardware version:              1
S_MCU:
  boot-loader FW version:        255
  firmware version:              7.24
  hardware version:              6
Serial number:                   00:a2:00:00:62:30
Device ID:                       AVRDRAGON
Fixing the ATMega328P Chip ID
Apparently the ATMega328-PU has a slightly different device signature from the ATMega328P. If you don’t use the -F option on the avrdude command line then you won’t be able to program the chip. Using the -F option is dicey because if something else goes wrong then you might brick a chip.
This site details the nature of the problem and the fix:
http://www.instructables.com/id/Bootload-an-ATmega328/step6/ATmega328-PU-workaround/
The steps to fix this are:
1) Open the following file in Notepad++ or equivalent: C:\WinAVR-20100110\bin\avrdude.conf
2) Search for: “0x1e 0x95 0x0F” (this is the ATmega328P signature)
3) Replace it with: “0x1e 0x95 0x14” (this is the ATmega328-PU signature)
4) Save the file
To undo the steps, switch the two HEX signatures and save the file.
Working With Fuse Bits
Do not attempt to configure fuses without this site: http://www.engbedded.com/fusecalc/
The configuration I chose is:
- Internal RC Oscillator 8MHz;
- Start-up time PWRDWN/RESET: 6CK/14CK + 65 ms; [CKSEL=0010 SUT=10]; default value
- Clock output on PORTB0 NOT SELECTED
- Divide clock by 8 internally NOT SELECTED
- Boot Reset vector Enabled NOT SELECTED
- Boot Flash section size=2048 words Boot start address=$2800; [BOOTSZ=00]; default value
- Preserve EEPROM memory through the Chip Erase cycle; EESAVE=0 NOT SELECTED
- Watch-dog Timer always on [WDTON=0] NOT SELECTED
- Serial program downloaing (SPI) enabled [SPIEN=0] SELECTED
- Debug Wire enable [DEN=0] NOT SELECTED
- Reset Disabled (enable PC6 as I/O pin); [RSTDISBL=0] NOT SELECTED
- Brown-out detection disable; [BODLEVEL=111]
This is the command line that the site generated for me:
-U lfuse:w:0xe2:m -U hfuse:w:0xd9:m -U efuse:w:0xff:m
However, this command line will produce an error because the extended fuses will be read as 0x07 rather than 0xFF. This is actually fine, but to prevent the error, use this command line:
-U lfuse:w:0xe2:m -U hfuse:w:0xd9:m -U efuse:w:0x07:m
Using avrdude in a Makefile
The one issue I’ve seen using avrdude in a makefile is that the Dragon needs a ‘recovery’ time after an operation with it. If it is not allow 1-2 seconds between avrdude calls, the second avrdude call will not find the Dragon and will fail.
In Windows, this can be accomplished by adding the following line between any avrdude calls:
sleep 2
Keep in mind that multiple write and reads can be chained in one avrdude command line via multiple -U switches being passed to avrdude. This often mitigates this issue.
Potential Issues with the Dragon
The Dragon can be a rather finicky piece of hardware. It has frustrated me several times. Below are some of the issues I’ve had with it and how they were fixed. If you’re having difficulty getting avrdude to connect with the Dragon, check here.
Power
The Dragon uses lots of power. A non-powered USB hub won’t do the trick to connect it to your computer. You need to connect it directly or use a powered hub.
It doesn’t help that the Dragon can be, apparently, half powered - there are lights on, but not enough. One good check is: if you only see the yellow LED on, it’s insufficiently powered.
Just Plain Broken
Sadly, the Dragon could just be broken. It’s not the most robust piece of electronic hardware I’ve worked with. I hear lots of stories online about ESD damage - to the point that people had to put the thing in an enclosure to keep it safe. It’s certainly best to be hands-off with the Dragon as much as possible.
If you think your Dragon is broken, take a look at it. Are lights on? Normal operation is one green and one red light. And it should show up in Device Manager somewhere if it’s operational.
If you can’t verify any of the above, it might just be broken.
Firmware
It’s possible you need a firmware update. I needed one when I started using it, but sadly I do not know that process as I was using AVR Studio at the time - it automatically updated the firmware for me.
Drivers
The Dragon (and AVRISP mkII) use something called the Jungo WinDriver. So do other devices in the market - not just AVR products, anything can. It’s possible that if you have another device using this same driver, you’ll have to do some juggling to get both of them to work at the same time. Try reinstalling the software for the device that doesn’t work (whichever it is) and then